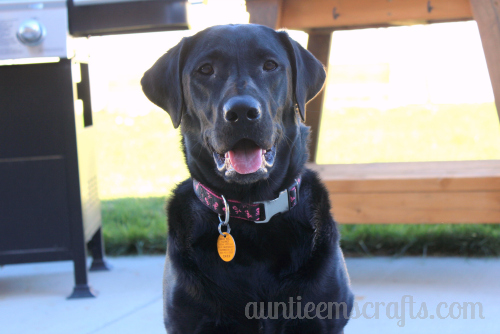
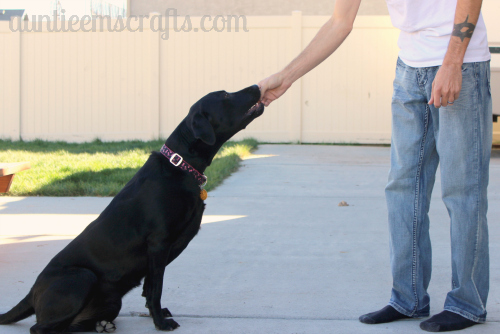
My husband and I adopted an 8 month old black lab recently. He has been trying to train her to ensure she adapts well into our home with my son and our cats. So far she has been exceeding our expectations and has been a joy to have around.
Since we haven’t had any dogs prior to her, we had zero toys, accessories, bedding, or anything on hand. I planned to make some homemade dog treats to help with her training but I did not have any good containers to store them in. Luckily I live close to an Ikea… problem solved. 🙂 I picked up a larger size jar that matches my coffee and sugar jars. Unlike my other jars, I figured this one would be out on the counters all the time so I wanted to pretty it up.
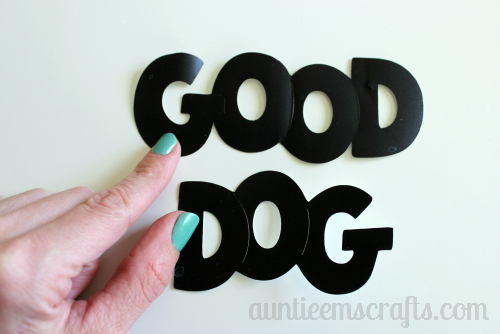
My Animal Kingdom Cricut cartridge had a Good Dog cutout that was perfect for my jar. I used black vinyl to make 2″ words.
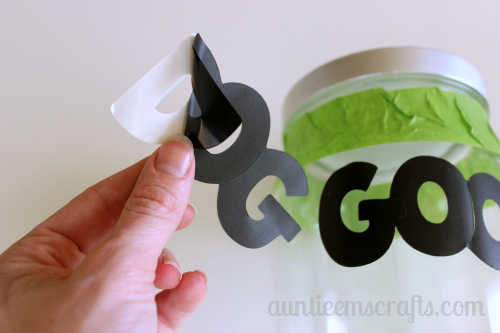
After cleaning the jar with rubbing alcohol and letting it air dry, I added painters tape at the top and bottom. I left a 5″ gap in between.
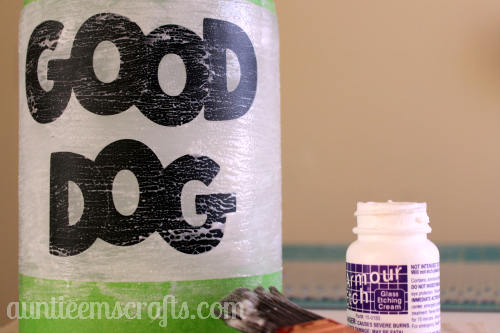
I peeled the backing off the vinyl just before placing the words on the glass. I started with “Good” then centered “Dog” underneath it.
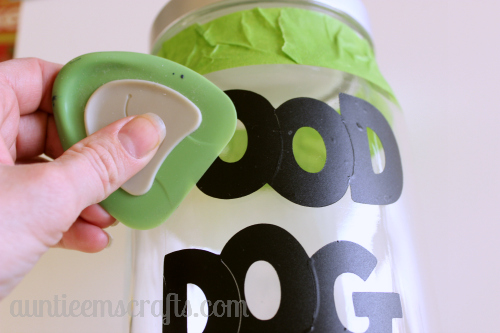
I rubbed the tape and words down with a flattening tool that came with the Cricut, to make sure it would have crisp lines. A credit card or other flat item would work also.
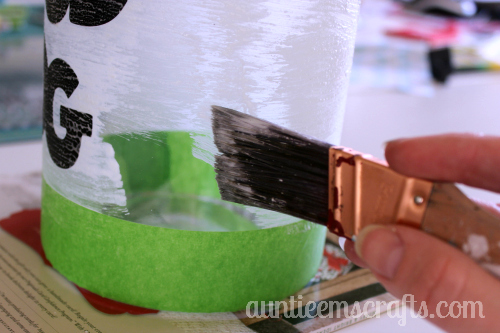
I borrowed some leftover Armour Etch etching cream from my sister in law Cindee’s etched glass tutorial. I applied the cream with a skinny paint brush and let it sit for 15 minutes. Make sure you read the safety warnings on the container before starting a project with Armour Etch.
After 15 minutes I removed the remaining cream with a wet wash cloth. When it was completely dry, I slowly removed the painters tape and vinyl lettering. I gave the jar a final rinse in my sink.
For the purpose of this post, I filled the jar with dog food. I still need to research some of the homemade treat recipes on Pinterest. If you have a go-to one that your dog likes, please sent it my way! I’ve got a cute dog bone shaped cookie cutter that I’m dying to use.
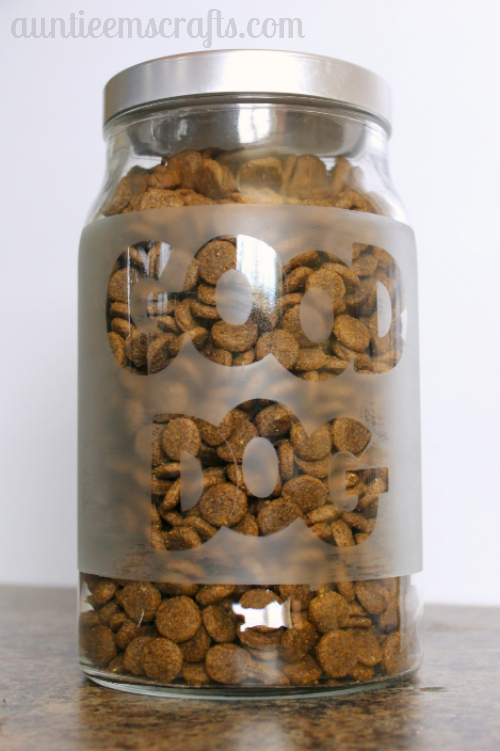
I am really happy with the way the treat jar turned out. I’m even happier that Josie turned out to be such a good dog 🙂
Leave a Reply